t
e
k
n
i
k
k
a
p
ı


ire Door Installation Instructions.
1. Materials and Equipment Required for Installation
- Installation foam
- Installation screws
- Spirit level
- Drill
- Cordless power tools
- Angle grinder
- Auxiliary hand tools required during installation
- Rock wool and/or ceramic wool insulation material
2. Inspection of the Installation Area
Before starting the installation, the area where the door will be installed must be inspected.
Check whether the door opening has been prepared in accordance with the order specifications and door dimensions. Ensure that the wall opening and installation area are suitable for the installation of the door frame.
3. Positioning and Insulation of the Frame
Position the door frame in the installation opening. Apply rock wool and/or ceramic wool as appropriate between the frame and the wall to provide the required insulation. Ensure that the insulation material is properly and evenly placed between the frame and the wall.
4. Securing the Frame to the Wall
After the insulation materials have been installed, securely fasten the frame to the wall using suitable installation screws. Care must be taken to prevent deformation of the frame during fastening.
5. Levelling the Frame
After securing the frame to the wall, check it using a spirit level. Check the horizontal and vertical alignment of the frame and make any necessary adjustments. Proper levelling of the frame is essential to ensure smooth operation of the door leaf.
6. Trim Installation
Once the frame installation and levelling adjustments have been completed, install the trim. Fit the trim properly onto the frame and secure it in place.
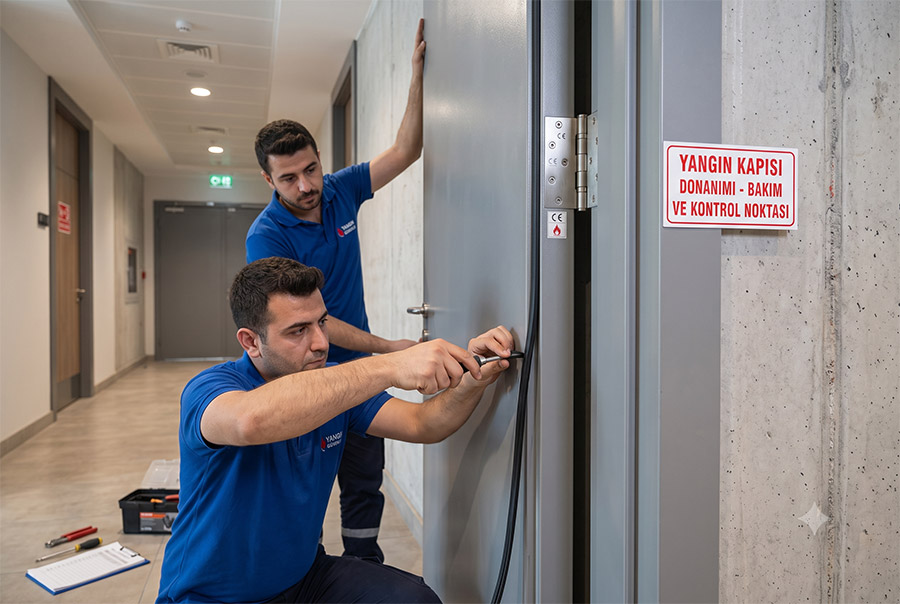
7. Hinge Installation
After installing the trim, align the hinges with the appropriate fixing points on the frame, then screw and secure them in place.
8. Installing the Door Leaf
Once the hinges have been installed, fit the door leaf onto the frame. Check that the leaf is properly seated on the hinges.
9. Initial Opening and Closing Check
After installing the door leaf, visually check that the door fits properly within the frame. Open and close the door several times to ensure that the leaf operates smoothly and does not rub against the frame.
10. Installation of EPDM and Intumescent Seals
After confirming proper operation of the door, install the EPDM seals into their designated grooves. Then install the intumescent fire seals, which expand when exposed to fire and contribute to maintaining the required fire and smoke sealing performance. Ensure that the seals are continuous and properly seated in their grooves.
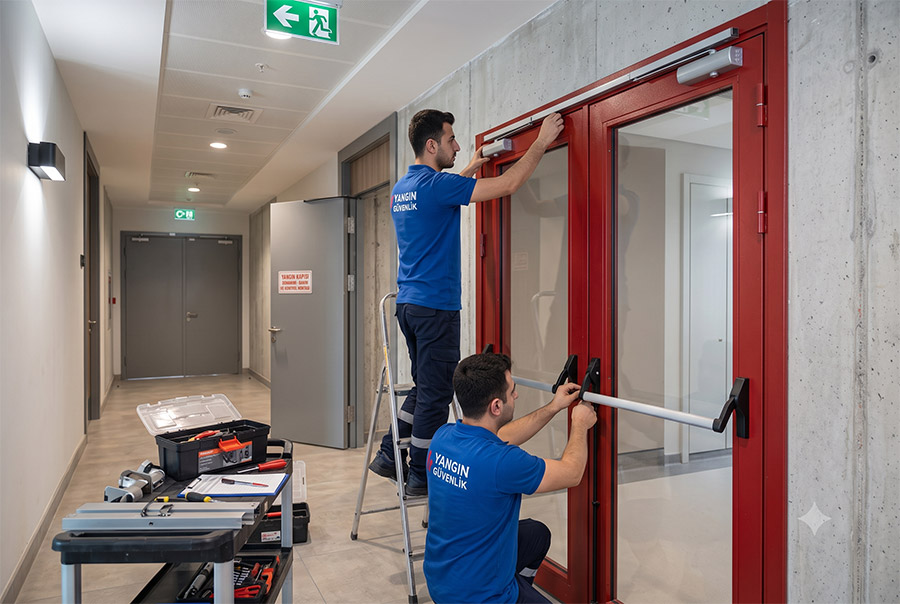
11. Panic Bar and External Lever Handle Installation
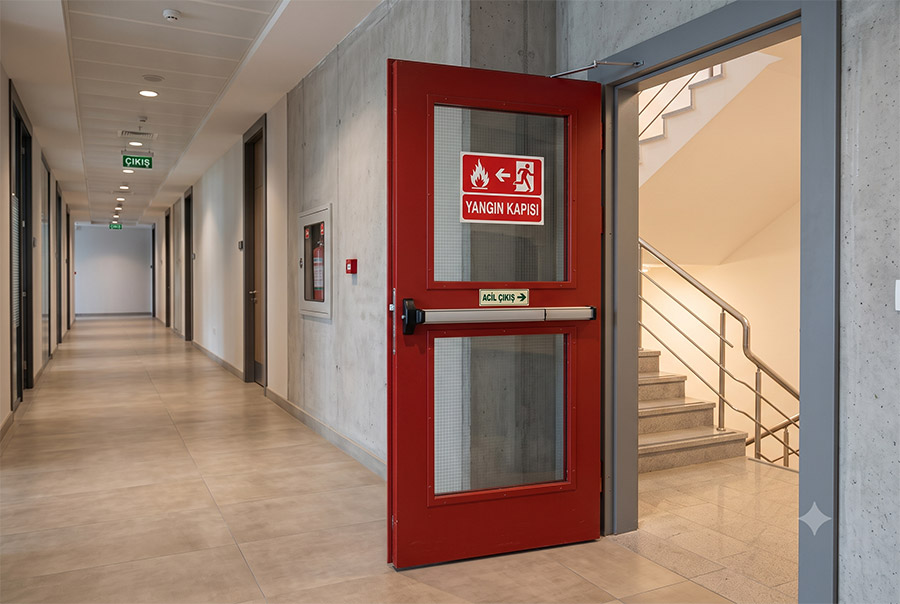
Install the panic bar according to the hardware specifications of the door. If the door is equipped with an external lever handle, install the lever handle as well.
12. Setting the Hinge Springs
After completing the hardware installation, set and adjust the spring-loaded hinges to ensure that the door closes properly.
13. Final Function Check
After all installation and adjustment procedures have been completed, inspect the door again. Test the following functions:
- Proper operation of the panic bar
- Operation of the external lever handle
- Smooth opening of the door
- Proper closing of the door
- Operation of the hinge and spring system
- Ensuring that the door leaf does not rub against the frame
- Correct installation of the EPDM and intumescent seals
- Security and tightness of all installation fixings
Once all checks have been completed and the door has been confirmed to operate correctly, the fire door installation process is complete.
Note: Installation must be carried out in accordance with the approved technical documentation for the relevant door and the installation details specified for the applicable fire-resistance system.
Fire Door Prices in 2026: What Determines the Cost?
July 6, 2026